Avowed
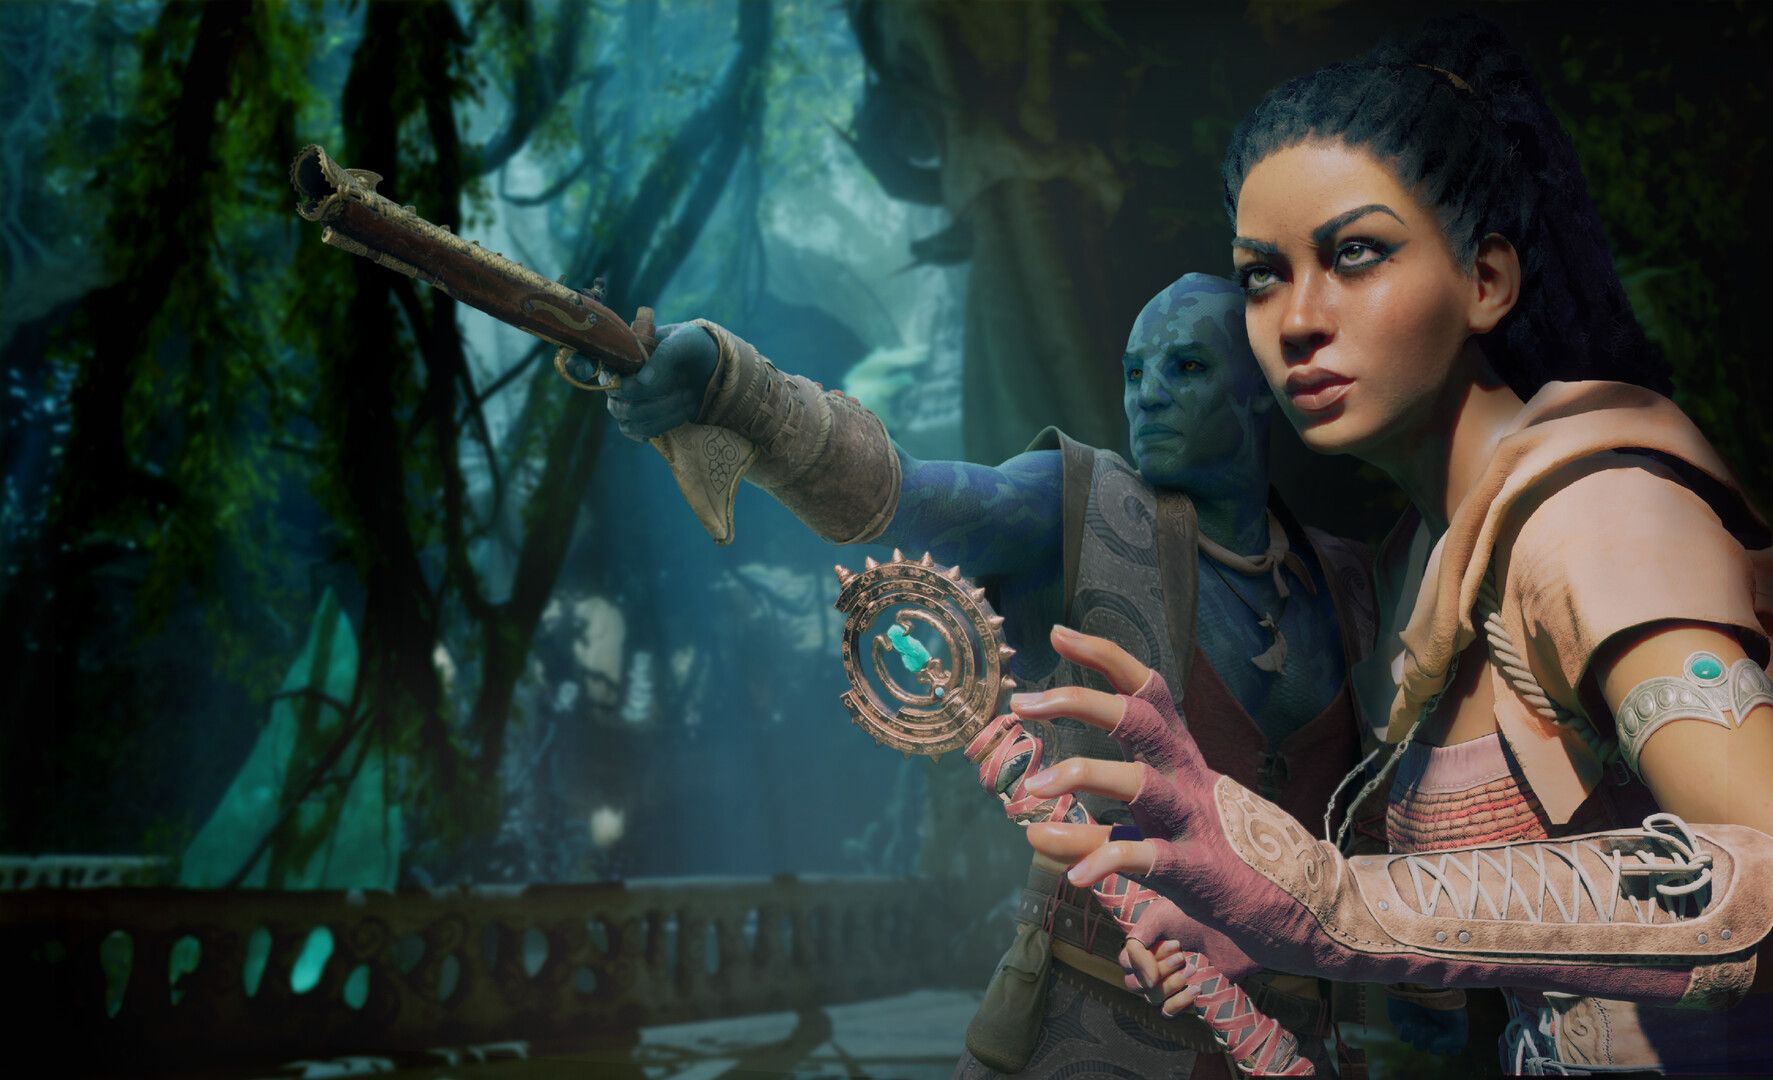
The Totems inAvowedare one of the best and easiest ways to boost your stats quickly . The Wael ’s Totem is the variant that can befound and collected throughout Shatterscarpand you could broom it up with a fairish amount of ease depending on the layer of your cogwheel . you’re able to get some clue as well , which will help oneself you find it if you do n’t want to follow the map below .
Totems andAncient Memories inAvowedare some of the good ways toget a minuscule extra boost to your character without have to promote anything . It can be hard to compile everything and grab what you need to upgrade your weapon system - or expensive if you just purchase a better version . However , these two collectibles are a great way to advance your stats without doing more than picking something off the ground .
Quick Links
Where To Buy The Clues For The Totem Of Revelations Pieces In Shatterscarp
The Right Merchant For The Job
Unlike some of the other Totems , the Wael ’s Totem clue map is fairly sluttish to find . You will want to insert Thirdborn and go to a merchandiser locate in The Dead Swordfish . It is across the street from where the Pisces and bounty merchants are andwhere you pick up Yatzli during the master quest . This makes the location easier to notice . The merchandiser inside is named Cinzia .
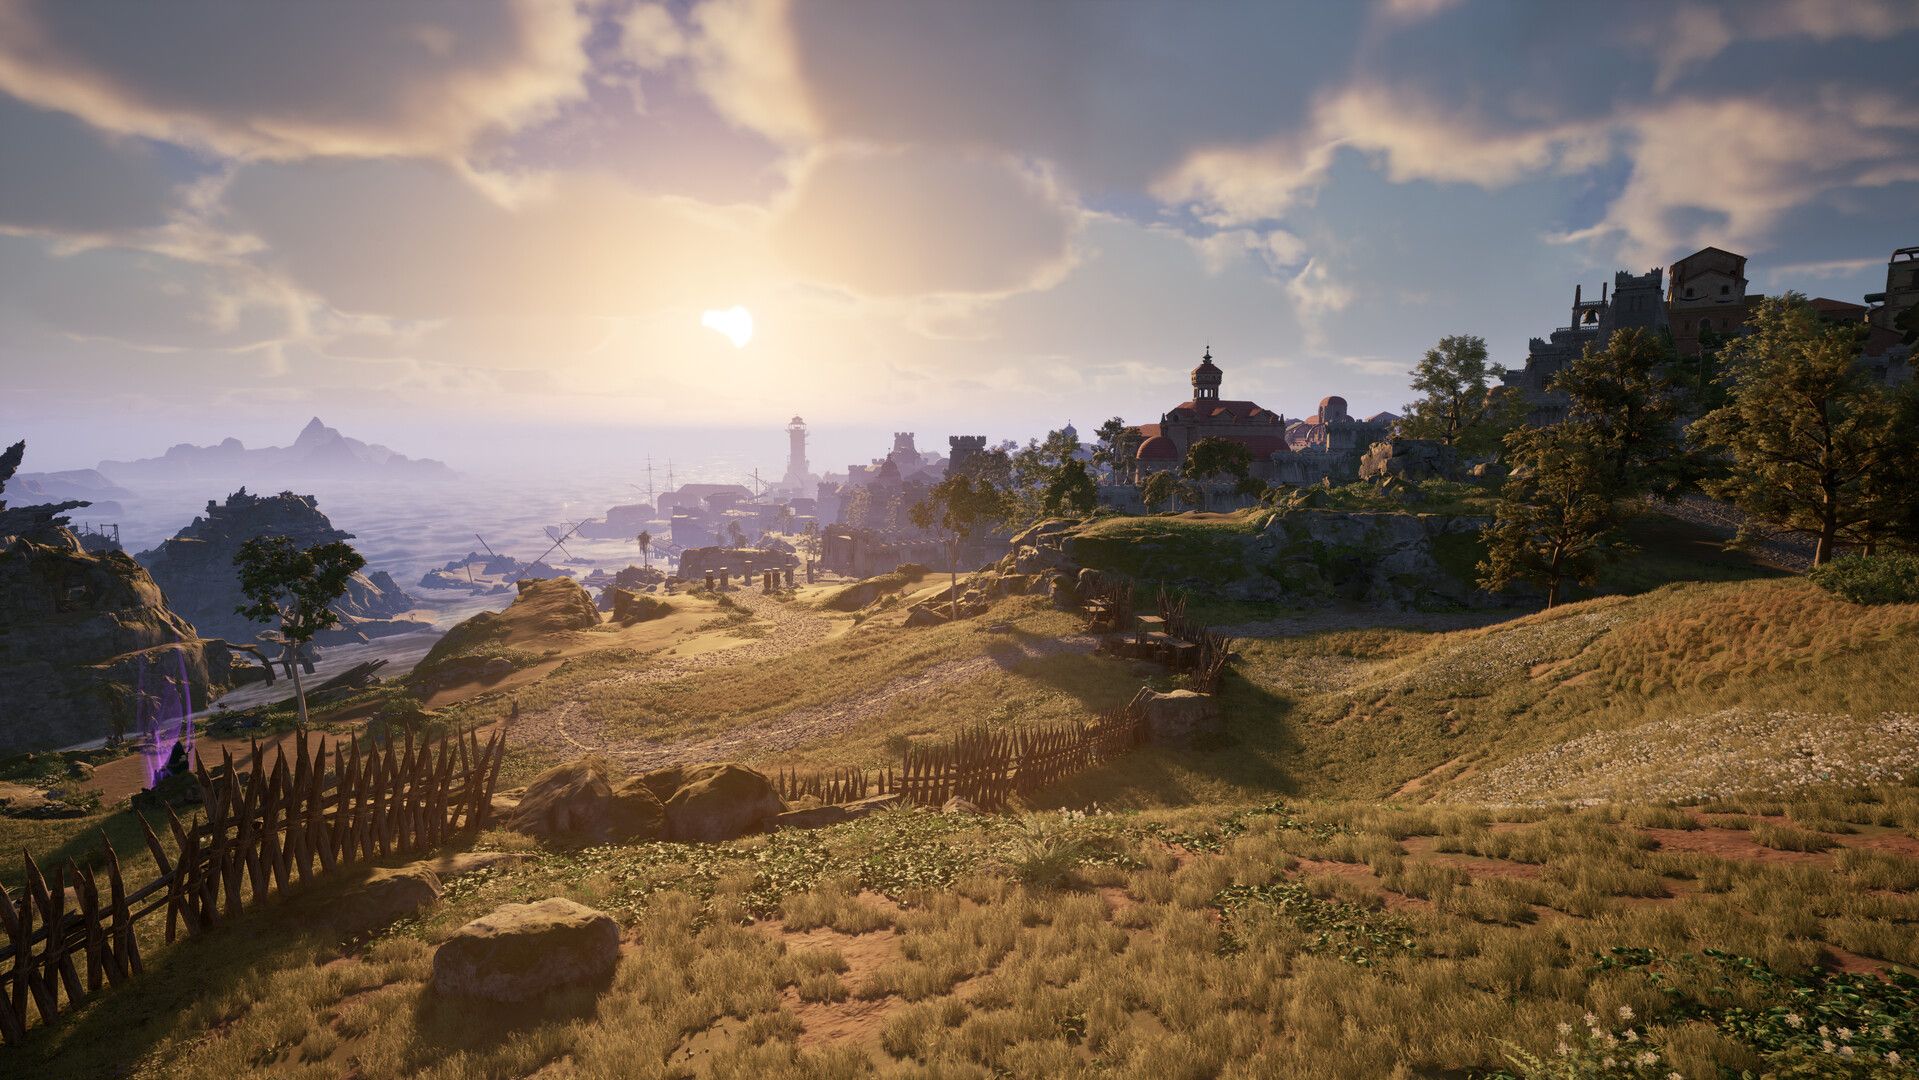
Avowed ’s unique armour , glove and boots have special ability and are locate across Dawnshore , Emerald Stair , Shatterscarp , and Galawain ’s Tusks .
When you spread her fare , you will need to look for the point in her store namedFragments of the Eyes . you could also get some dear unique gear at this workshop , so check out it out and see if there is anything that suits your build . I liked the look of theTrickster ’s Cuirass , but I already had a slightly secure piece ofarmor inAvowed , so I did n’t catch it . However , you will then have some clues to serve you find oneself the Wael ’s Totem fragment .
Avowed Totem Of Revelations Walkthrough: Where To Find Every Piece Of Wael’s Totem
Wael’s Totem Base & Ruby Eye - Shrine of Wael
These two are placed together because they are in the same location . You will need tohead toward the southwest sphere of the mathematical function , and you will see theShrine of Waelpop up on your map . You will require to head toward the coast as much as potential before heading up the cliffs and into the Shrine .
The room with the totem base also has achest behind the cell bars if you freeze them , making it fairly easy to get to and break you a better composition of gear ahead of time into the quest . Once you turn with your back to the totem , take the left path and abide by it up . At the top , you will occur across a person standing looking out over the cliff .
This is theWard of the Eye , and all you have to do is talk to her to get the Ruby Eye without any squabble . verify you save before heading outand going down the drop-off . There ’s a bounteousness target near the bottom , and it ’s a tough fight that wo n’t autosave before you start it . If you ’re like me , this think you will die and have to go back through the fuss of talking to the Ward and acquire the Ruby Eye one extra time too many .
Amethyst Eye - Ancient Lakebed
If you lead theThirdborn Party Camp and guide up toward theFirst Contact with the Enemyquest , you will pass the location for this one . However , it is inset into a cave that ca n’t well be seen . search for a few clay lie around , andwalk or run along the caveuntil you see the orange lines .
Topaz Eye - Leviathan’s Hollow
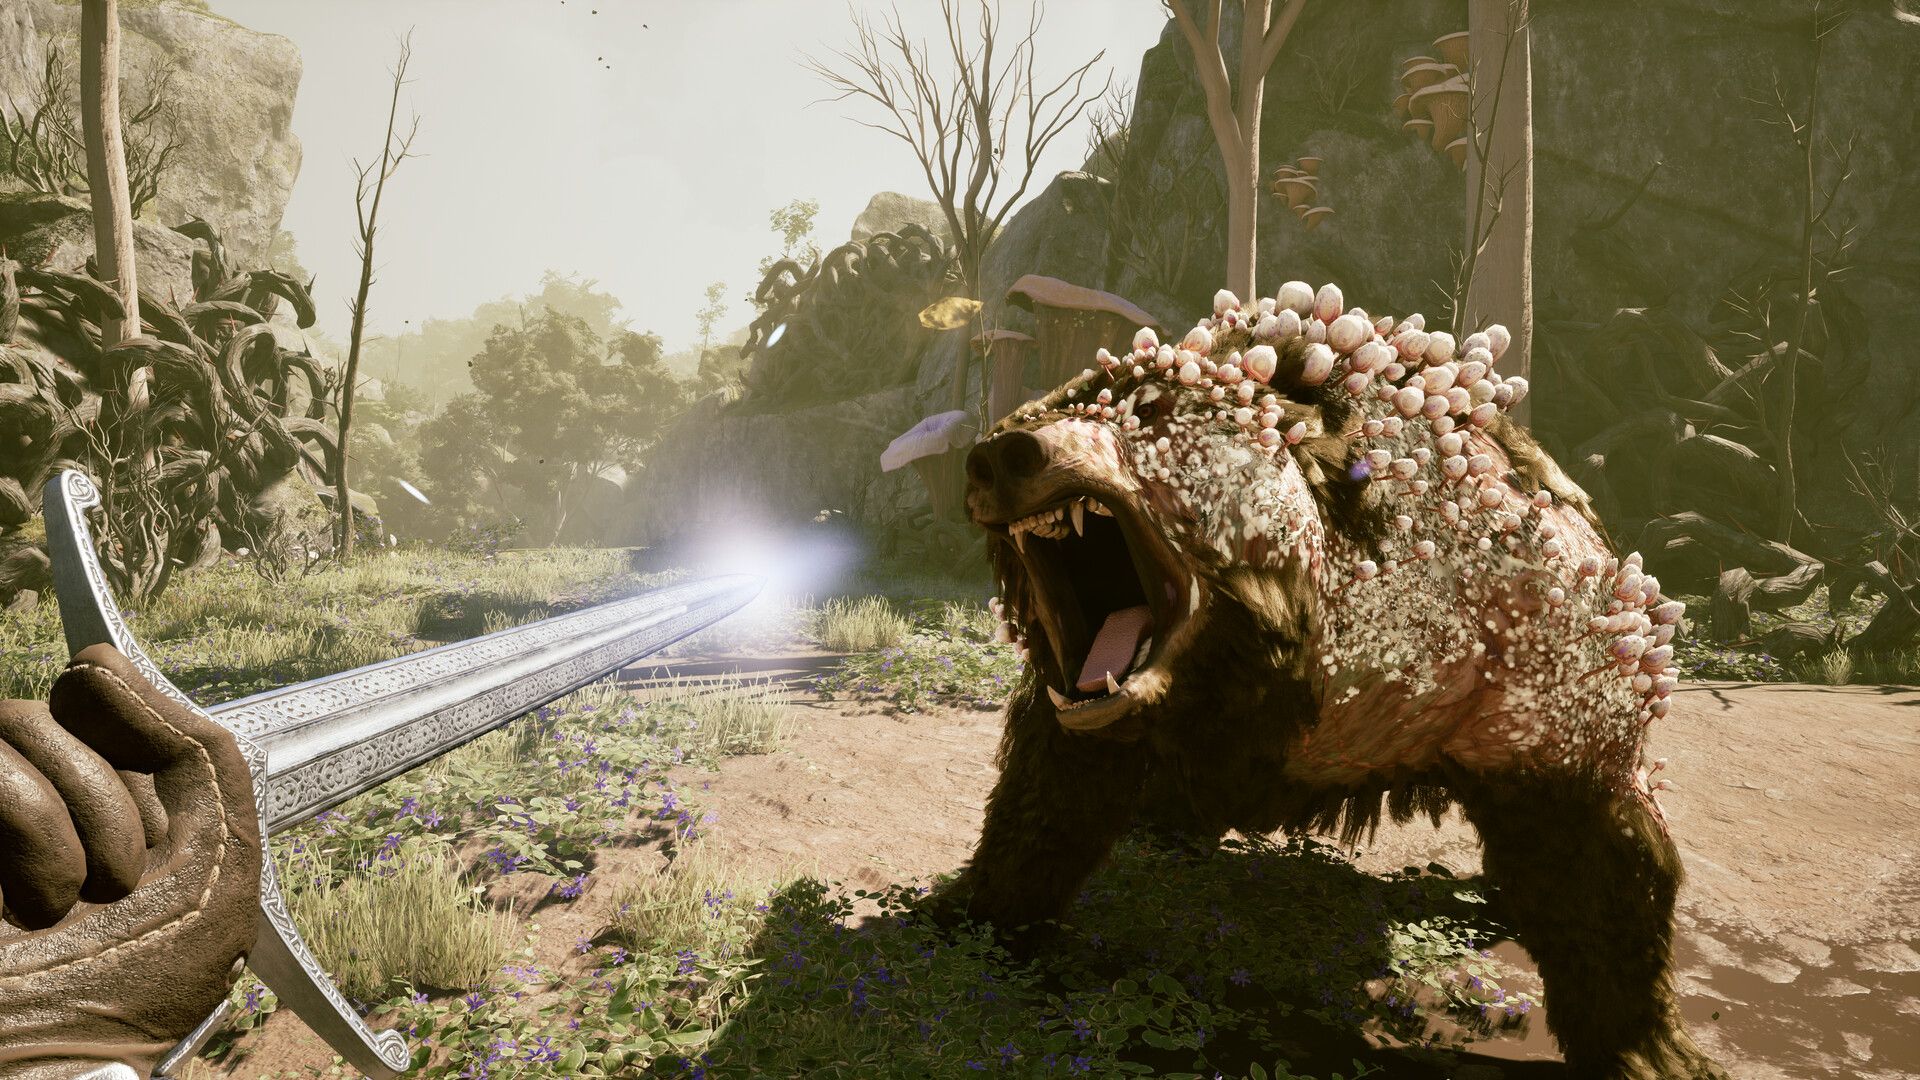
This one will be hard to pretermit if you are on theFirst Contact with the Enemyquest . You will require todefeat the camps outside the cavethat you are think to be searching , before walking toward the giant lizard back talk and diving event into the water . Swim to the cave opening and eliminate the enemiesthat are just inside the cave .
I will say that this was a much harder camp and fight than I was expecting for the first giving side pursuance you get in Thirdborn . I thought it would be a little soft because of that , but it is a tough scrap so you will want to be ready for itwith thebest weapons inAvowed . Once you empty the enemies , channelise to your left up the balconies . There is another smaller group of enemies forwards , and apath that enfold back to go around the top of the main room .
If you walk along that path , you will regain the Topaz Eye as well as one of your quest markers , as Manu ’s Badge is located at the shrine as well . Grab both and finish the quest if you have the alternative to .

Emerald Eye - Shark’s Teeth
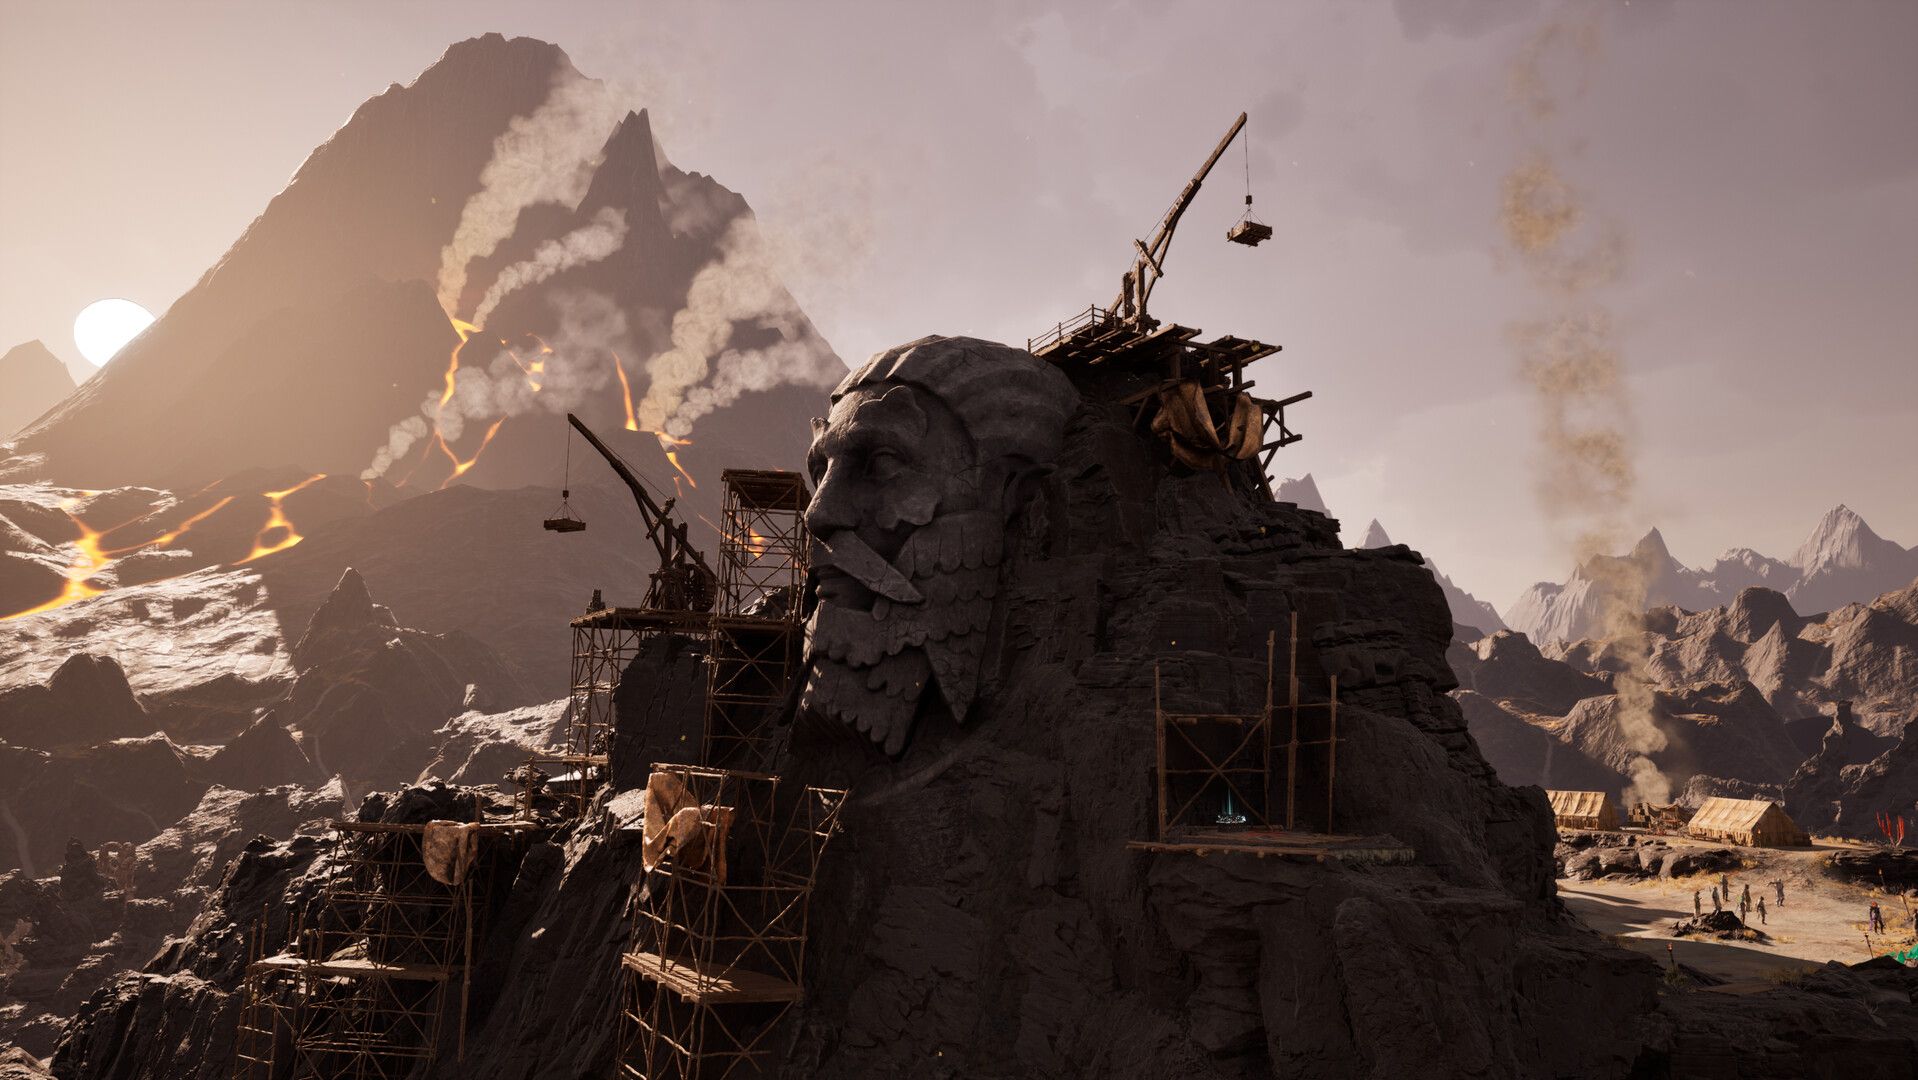
This one is luckily straightforward if you have found theShark ’s Teeth Party Camp . manoeuver directly across the intact bridge where there is a statue fence in by scaffold . Do n’t overthink it , just climb up the scaffolding until you get to the top of the statue ’s head . The Emerald Eye is waiting up there , and once you have that , the main seeking is on one side of the Party Camp , and a bounty is on the other .
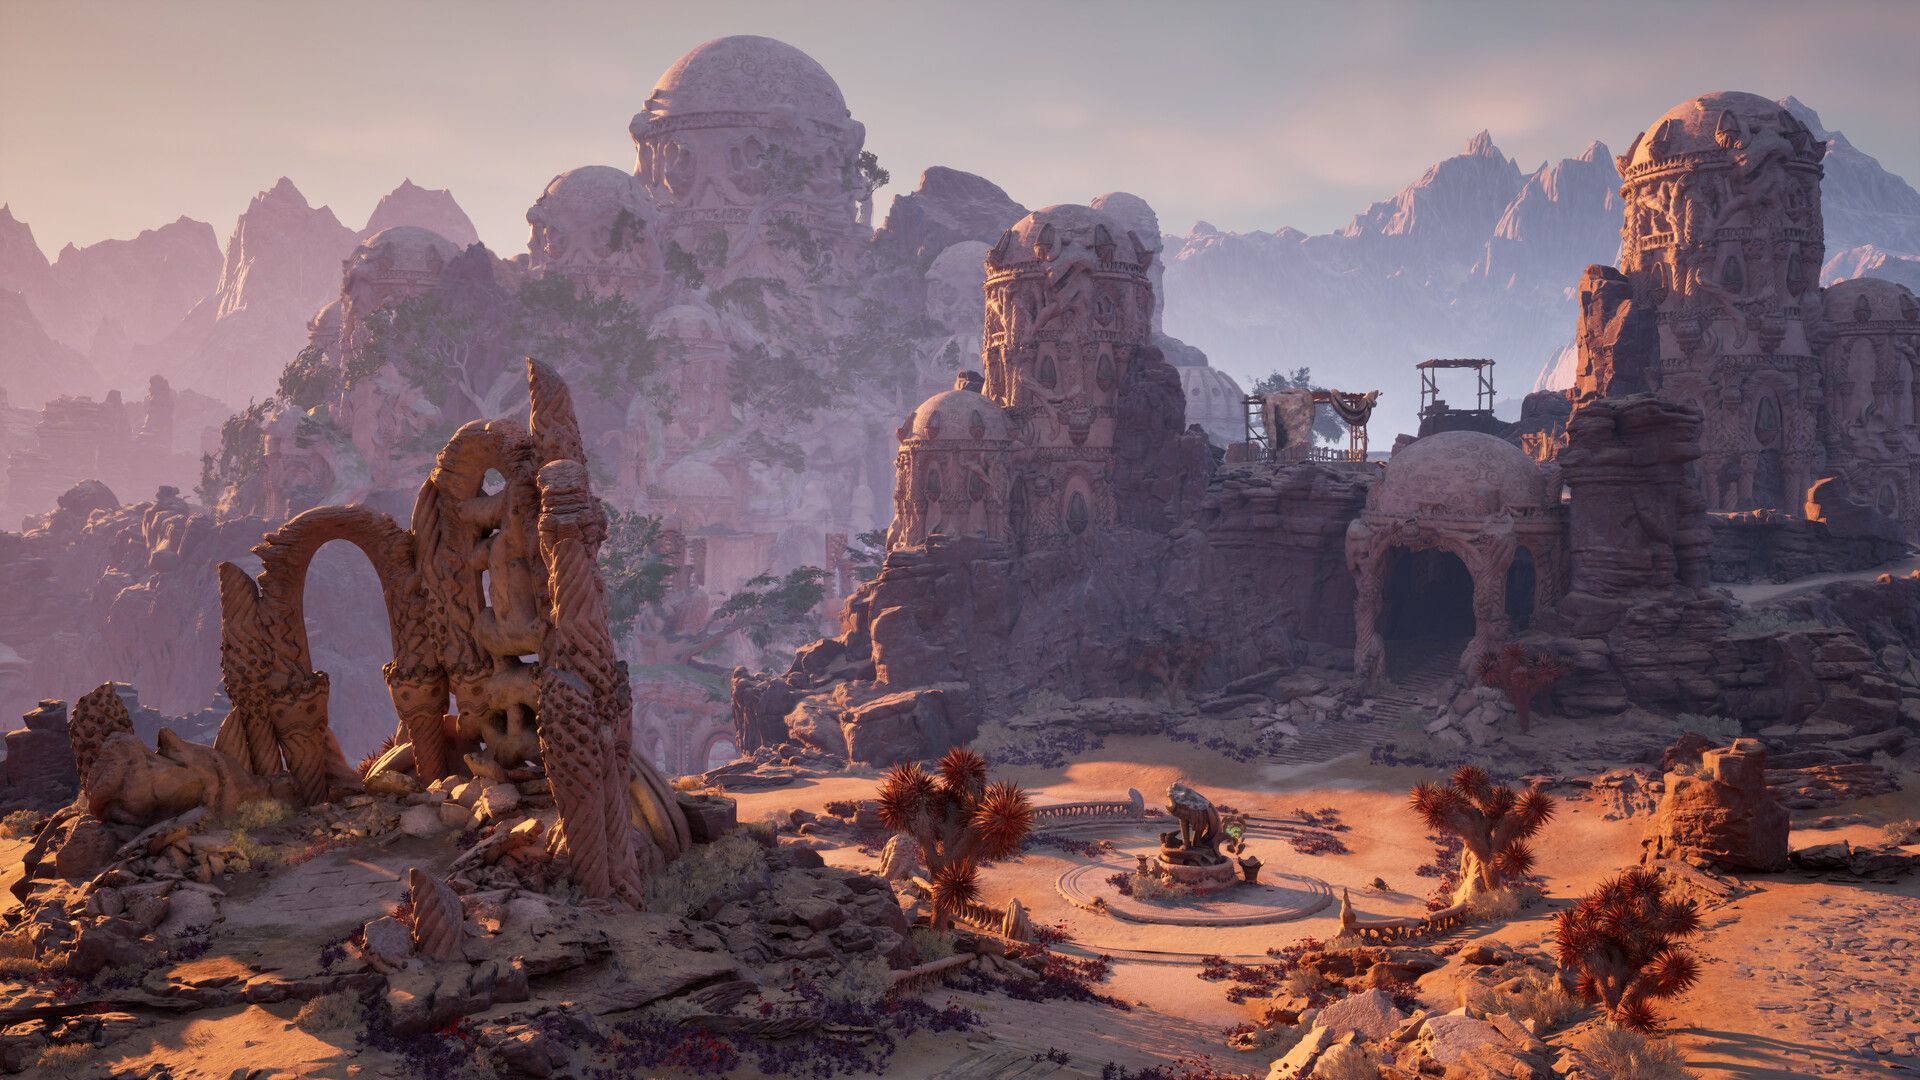
Agate Eye - Sand Sea Ruins
This one is a little wily because it can be difficult to recognize the way to get into the ruin . It ’s difficult to describe , but if you come on the front of the ruin from the compass north , wait toward the more or less smaller ruins on your left . There ’s a route with a few enemy that willlead you to the scaffolding that you’re able to climbto get into the master construction of ruination .
There are a band of thorax thatneed lockpicks in this area , so keep that in mind .
Once you get to the flooring that you’re able to throw off through , you want to fell to the 2d spirit level , not the first . From there you could follow the itinerary around well and grab the Agate Eye Totem sherd .
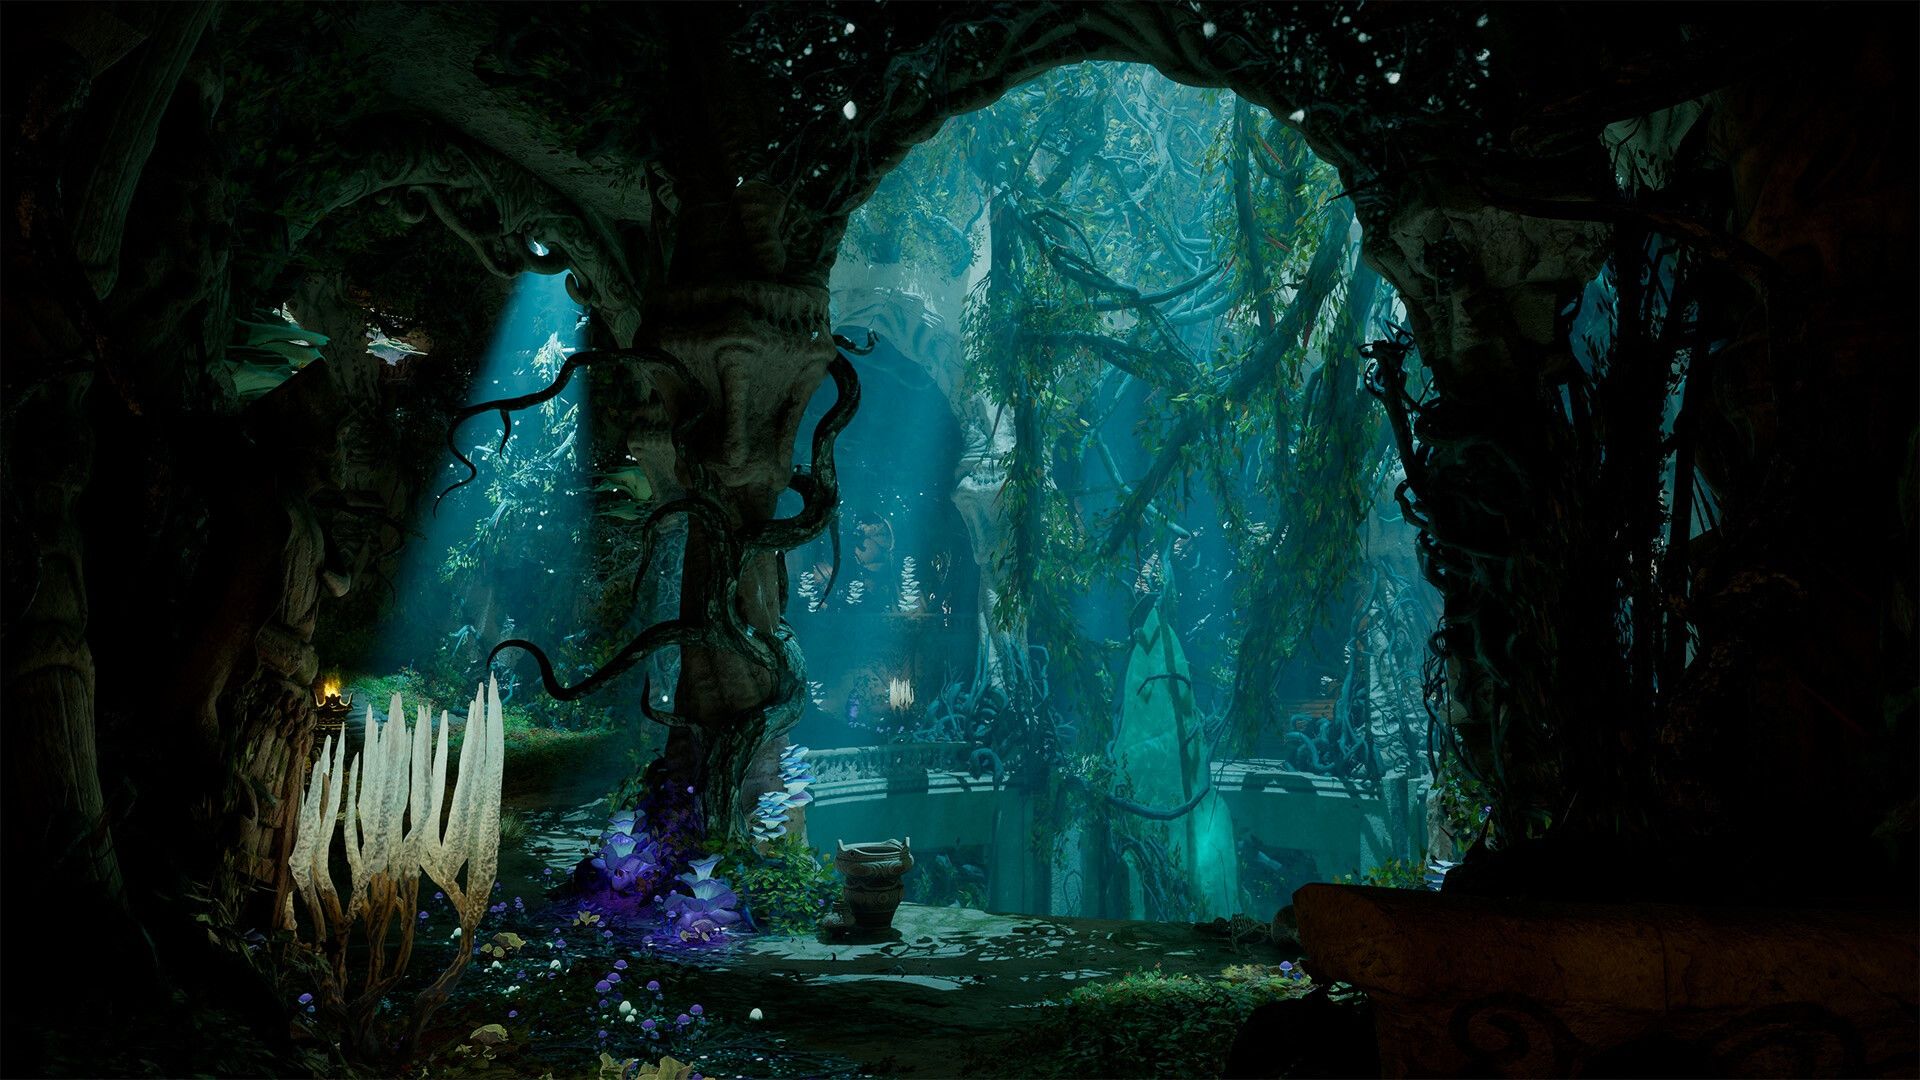
Sapphire Eye - Sand Sea Oasis
This one is located almost at once at the pharos for this region , and it is just about as far south-east on the function as you’re able to . Just past the lighthouse is the haven pool , and you are going to require to dive right in . The Sapphire Eye is a little unmanageable to see , and it is turn up near the bottom and the back of the pool . Once you have pull together that one , you have all the pieces you need to finish the totem .
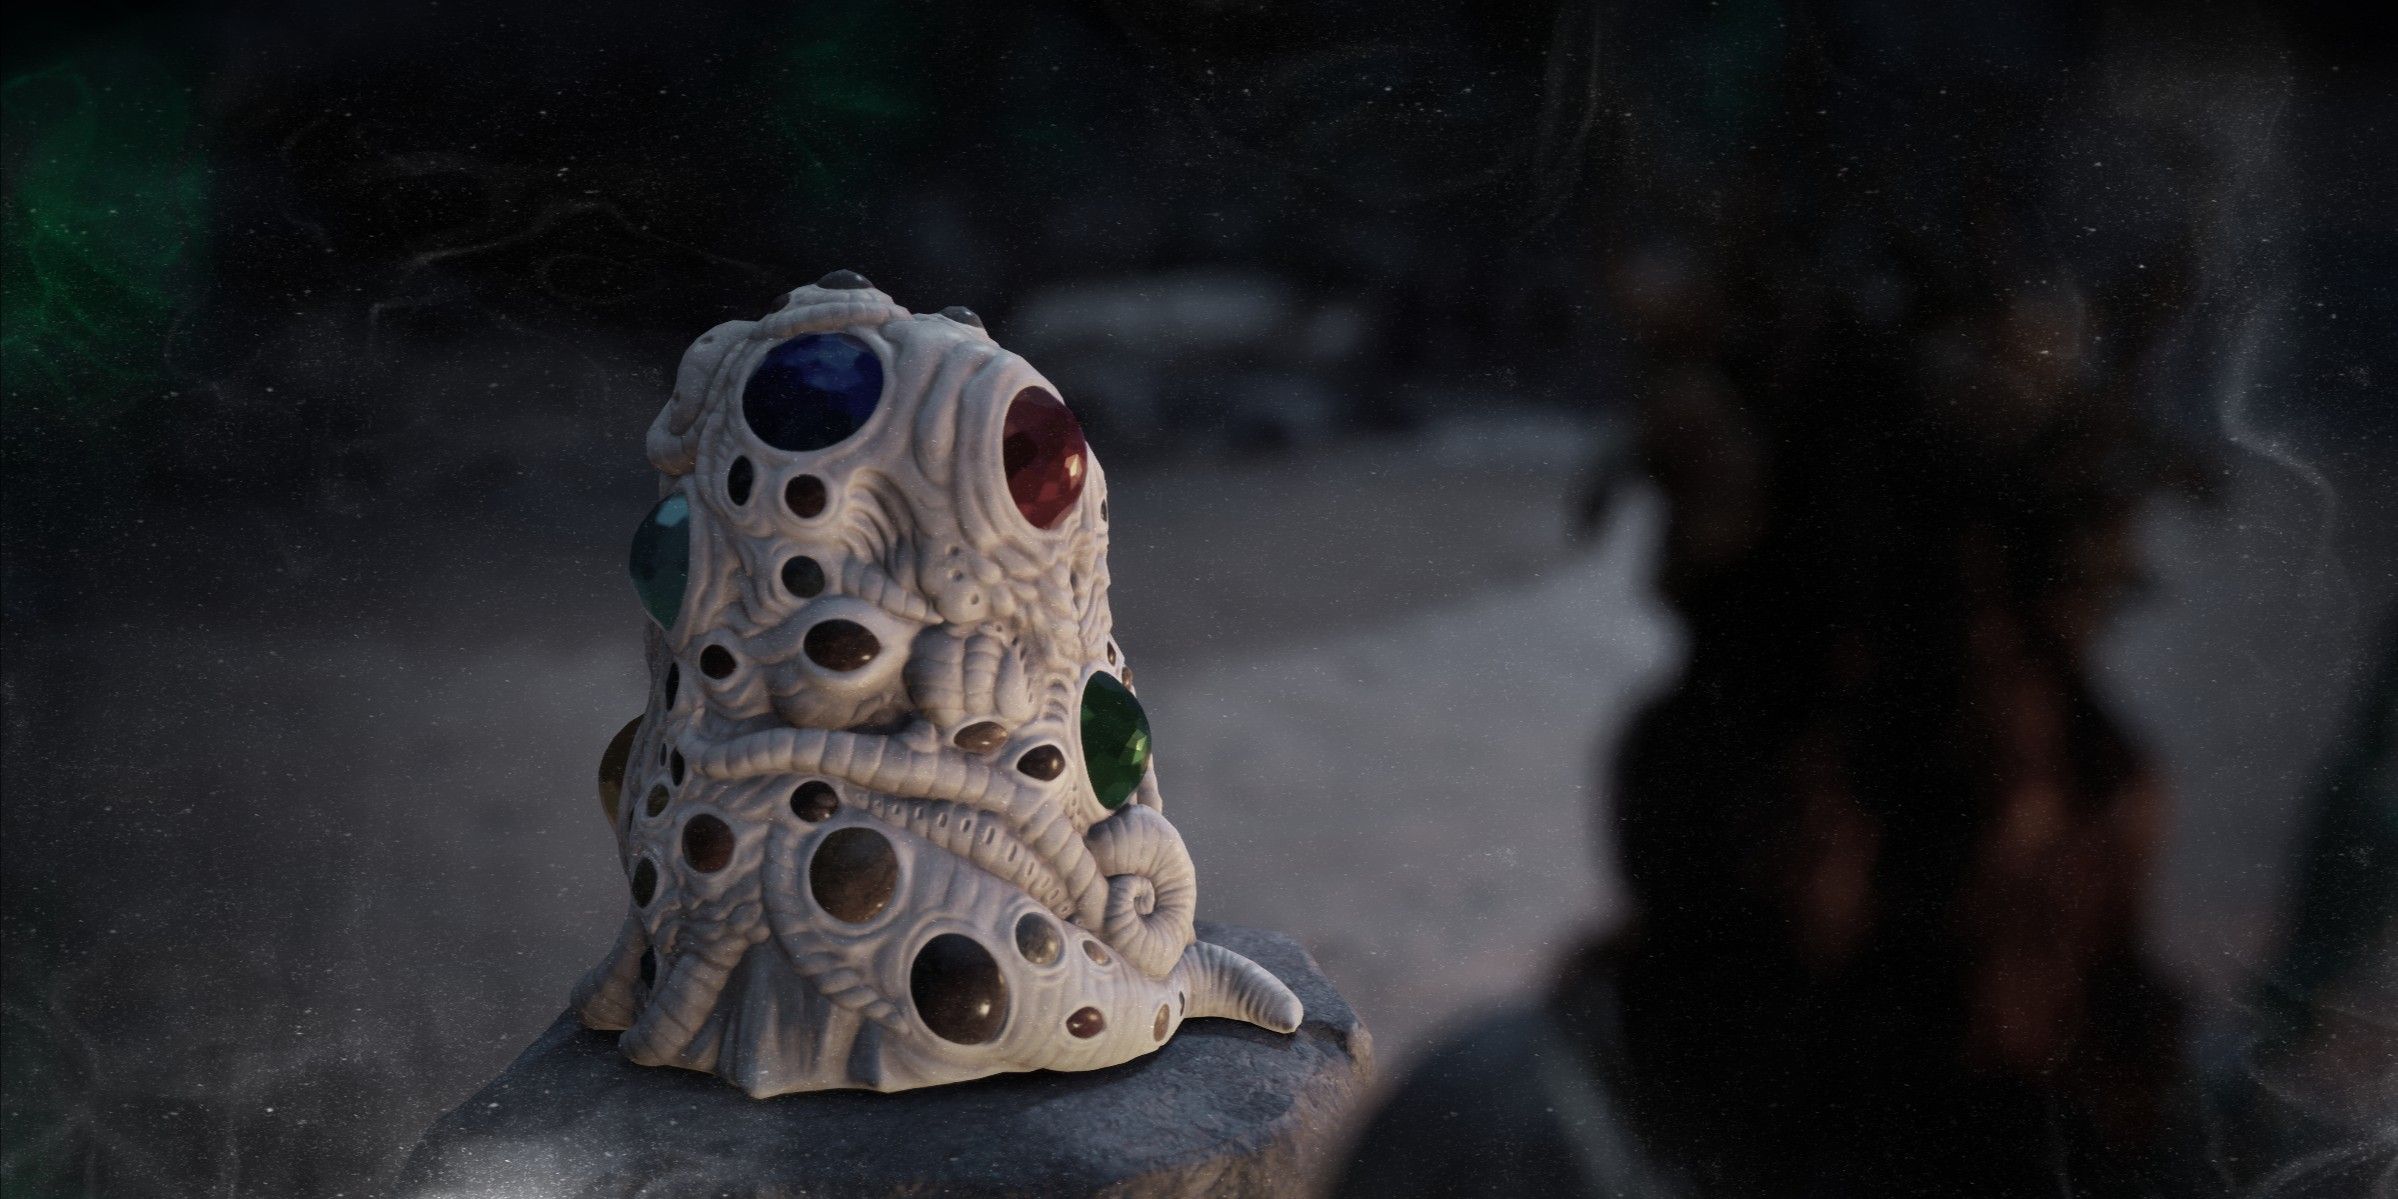
Final Reward For Wael’s Totem
If you choose to spark this totem , here are the rewardsyou will get :
Name
effectuate
Fickle air current
Critical Hits make do eminent random accumulation .
Magic in the Blood
Restoring Essence also reestablish a lowly amount of Health .
Enigmatic Shield
actuate a stage 15 or layer 20 power grants +5 % Damage Reduction for 10 seconds .
Disappearing Trick
Second Wind put Shadowing Beyond .
visual modality Beyond optic
+5 % Critical Hit Chance
The Obscured ’s Vantage
+2 Intellect , +2 perceptual experience
It ’s a great boost to any physique , and it ’s well deserving activating the Wael ’s Totem once it ’s completed inAvowed .
Your Rating
Your remark has not been saved